
Painting
Paint Interior Walls Like a Pro — Prep Checklist
- Difficulty
- Intermediate
- Time
- 1–2 days per average room
- Tools
- Roller frame, covers, brushes, painter’s tape, primer, drop cloths
Advertisement
Fresh paint on dirty walls is how you get peeling islands by August. The can of “one-coat white” cannot outvote grease behind the stove or chalky flat paint that has not been primed.
Pros spend most of the clock on prep. This checklist keeps you in that lane.
Day-before decisions
Pick sheen by room: flat/matte for ceilings and low-touch walls; eggshell or satin for halls and kids’ rooms; semi-gloss for trim and wet rooms. Buy all cans of the wall color with the same batch number when you can.
Estimate coverage: many latex paints claim 350–400 sq ft per gallon. Two coats are normal over a color change. Dark-to-light needs primer — believe that sentence.
Move furniture to the room center and wrap it. Remove switch plates. Bag screws in labeled tape on the plates.
Clean first
Vacuum baseboards and corners. Wash walls with a light TSP substitute or mild degreaser, especially kitchens. Rinse with clean water. Let dry fully — overnight if you flooded the surface.
Glossy existing enamel needs scuff sanding (120–150 grit) so new paint bites.
Patch and sand
Nail pops, dents, and fist holes: follow the sequence in patching drywall. Every repair gets primer. Sand ridges until your palm cannot find them in raking light — use a work light at a low angle.
Caulk gaps between trim and wall with paintable acrylic caulk. Tool smooth. Do not caulk between baseboard and floor if you rely on that gap for flooring expansion — know your floor type.
Tape with intent
Painter’s tape on trim only after dust is gone. Press the edge with a putty knife. For razor-sharp lines, some painters seal tape edges with a wipe of the existing wall color or clear medium; others skip tape and cut freehand. If you tape, pull it when the final coat is still slightly tacky to avoid skinning.
Mask floors with canvas drop cloths; plastic alone becomes a skate rink.
Primer — when it is not optional
- Bare drywall or fresh compound
- Stains (water, smoke, marker) — use stain-blocking primer
- Deep color changes
- Glossy surfaces after scuffing
Tint primer toward the finish color for strong hues. Let primer dry per the can — often 1–4 hours to recoat, longer in cold rooms.
Cut in, then roll
Cut a 2–3 inch band at ceiling line, corners, and trim with a quality 2–2.5 inch angled sash brush. Do not paint the whole room’s edges then wait two hours to roll — work wall by wall so cut-in and field stay wet together and blend.
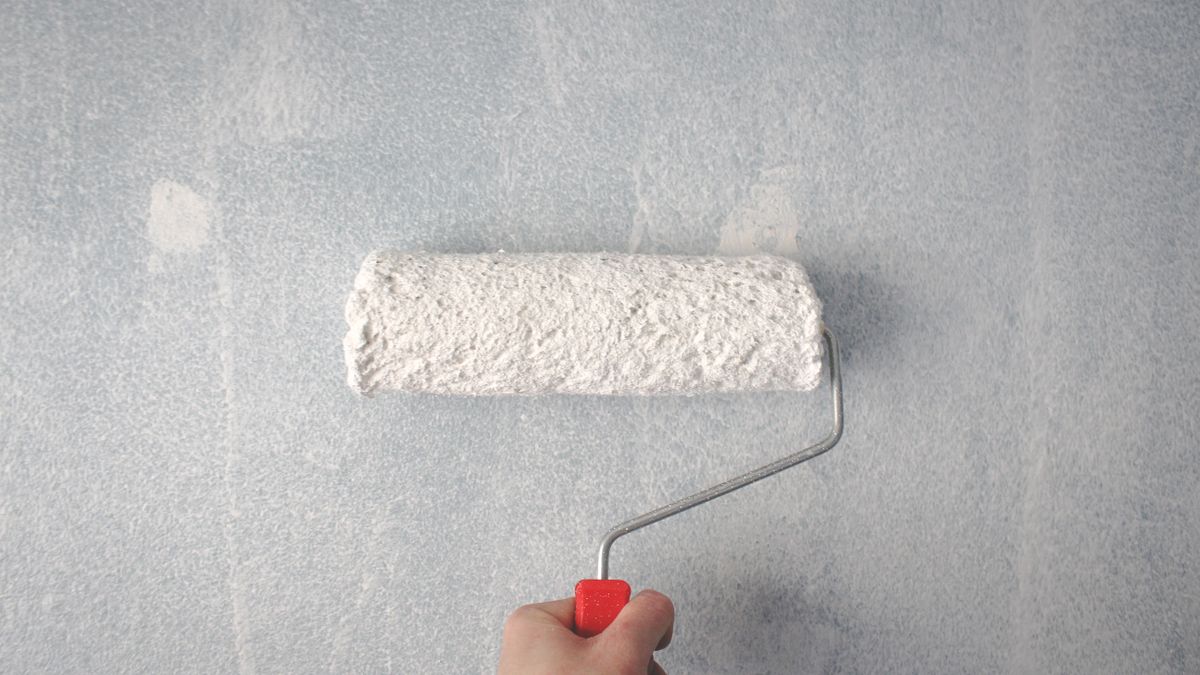
Roll in a W or M pattern, then fill without lifting the roller mid-strip. Maintain a wet edge. Use a ⅜-inch nap for smooth walls, ½-inch for light texture.
Second coat after the recoat window. Stretching a single thin coat to “save paint” leaves flash and holidays (missed dots).
Ceilings and order of battle
If ceilings need paint, do them first, then walls, then trim. Trim last keeps wall paint off finished edges — or paint trim first and tape carefully; pick one system and stick to it.
Temperature and humidity
Most latex wants roughly 50–85°F and moderate humidity. A closed cool room extends dry times; rushing the second coat traps moisture and dulls sheen.
Cleanup and cure
Wash latex tools with warm water before paint hardens. Avoid scrubbing new walls for a couple of weeks — full cure is longer than dry-to-touch.
Keep a few ounces of leftover paint labeled with room and date for touch-ups. Store where it will not freeze.
Failure modes
- Skipping degrease in kitchens → fish-eyes and peel.
- Rolling over dusty compound → grit constellations.
- Different sheens on the same wall from spot priming without blending → flashing under side light.
- Cheap roller covers that shed → lint fossils in the film.
Call a pro when
Lead paint may exist (homes before 1978 — follow EPA RRP rules; do not sand blithely). Tall stairwells need proper staging. Popcorn ceilings with possible asbestos need testing before disturbance. Whole-house color changes with millwork refinishing often cost less emotionally when a crew owns the schedule.
If mold stained the bath before paint, clean and fix humidity using renter-friendly mold guidance first — paint is not a mold treatment.
Sample boards beat regret
Paint a 24-inch square of primer and finish on foam board or an inconspicuous wall. Look at it morning and evening. Colors shift under warm bulbs versus daylight. The “perfect gray” that looked calm in the store can read purple at night.
Buy sample pots, not full gallons, until the sample passes the overnight test.
Roller technique details that show
Do not spin a loaded roller like a party favor — you spatters the ceiling. Load evenly in the tray well, roll off on the ramp, then apply. Finish each section with light upward strokes in one direction for a consistent lay-down.
Corners get too much paint when you jam a dry roller into them; keep cut-in wet and feather the roller into that band while both are open.
Trim without tears
Sand trim lightly between coats with 220 grit. Dust with a tack cloth. Foam brushes leave fewer brush marks on small profiles for some people; others prefer a quality sash brush and patience. Wipe drips immediately — dried drips on oak look like insects.
Remove tape from glass with a fresh utility blade if paint wicked under; score first so you do not peel dried paint off the sash in sheets.
How long a room should take
Empty spare bedroom, already decent walls: a long day including two wall coats. Lived-in living room with patching and color change: plan a weekend, with Friday night as wash-and-patch, Saturday prime and first coat, Sunday second coat and trim.
Rushing overnight between heavy coats in a cold house is how you imprint roller texture permanently.
Keep records
Write the brand, color name, sheen, and store on painter’s tape stuck to the back of a switch plate. Future touch-ups fail when you guess from memory three years later. Store leftover cans upside down after sealing (some swear this keeps skin from forming — still label clearly).